Shopify Order Tracking Page: How to Track Orders Automatically Before BFCM 2026
Guest post by PluginHive.
It’s 11 p.m. on Cyber Monday. Sales are booming, but so are the support emails.
“Where is my order?”
“Has it shipped yet?”
“Can you send me the tracking link again?”
During Black Friday Cyber Monday (BFCM), these questions can quickly overwhelm your support team. The good news? Many of them can be answered automatically.
A Shopify order tracking page lets customers check their shipment status anytime, while automated Shopify shipping notifications keep them informed as their orders move through delivery. Setting up both before the holiday rush can save your team time and give customers greater peace of mind.
Here’s how they work together and how to set them up for the BFCM season.
What a Shopify Order Tracking Page Does
A Shopify order tracking page helps track orders inside the store. A customer enters their order number and email address, then sees their package's live status.
That's better than the usual alternatives. They don't have to find a tracking number in an old email, and they don't have to paste it into a carrier's website. They check on your store, in your branding.
It works best alongside tracking emails. The emails push updates to the customer. The page is there when they want to look for themselves. Together, they cover most "where is my order?" questions without you typing a reply.
How to Track Orders Automatically on Shopify
One way to do this is PluginHive's Shipment Tracking & Notify app. It sends tracking emails, adds a lookup page to your store, and gives you a dashboard to follow your shipments.

The setup has four parts.
1. Install the app and connect your carriers
Install the PluginHive Shipment Tracking & Notify app, and after installing, choose a plan. You can change it later from the app's settings.

Next, open the Carriers section. You have two options:
Ready-to-use carriers, which don't need your account details. Examples include DHL Express, Australia Post, Canada Post, PostNord, and Blue Dart.
Your own carrier account, if you ship with UPS, USPS, FedEx, or Amazon Shipping. You enter your API credentials so the app can pull tracking updates from your account.
Connect the carriers you actually ship with. If a carrier you use isn't listed, PluginHive says you can contact them to ask about adding it.
2. Turn on email notifications
Go to App Settings > Notifications and enable email notifications.

You can send these emails from your own SMTP server and business email address. You'll need the SMTP host, port, username and password, plus a "From" address and a "Reply-To" address. If a customer replies to a tracking email, the reply goes to the address you set.
Add your store name and store URL, then edit the HTML email template so the subject and content sound like your brand.
3. Fulfil orders with a tracking number
This is the one step you repeat for each order. When you ship, click Mark as Fulfilled in Shopify and enter the tracking number from your carrier. From then on, the app sends an email with the tracking details, followed by updates as the status changes. These include in transit, out for delivery, and delivered.

One thing to know: the app only shows fulfilled orders that have a tracking number. If an order is missing from the app's Orders tab, check that it has been fulfilled with a tracking number first.
4. Add the tracking page to your store menu
In your Shopify admin, go to Content > Menu and pick the menu where the page should appear, like your header or footer. Click Add Menu Item, give it a label such as "Track Your Order", and enter this as the link: /apps/phtracking/
Save it, and the page appears in your store. Customers enter their order number and email to see where their package is.

How To Follow Every Shipment From One Dashboard
Customers aren't the only ones who benefit. The app's Orders page gives you one view of your shipments across carriers. You can search by order number, filter by carrier or date range, and switch between statuses: Initial, In Transit, Out for Delivery, Delivered, Exceptions and Cancelled.
During a busy sale week, the Exceptions status is the one to look at each morning. If a package has a problem, you can contact the customer before they have to contact you. Click any order to see its tracking history from start to finish.
Your Pre-BFCM Tracking Checklist
Work through this list a few weeks before the sale, not the night before:
Estimate your order volume and choose a plan that covers it. The free plan is limited to 25 orders a month, so it won't stretch far on BFCM weekend.
Connect every carrier you plan to ship with, including any you only use for special orders.
Turn on email notifications and set your From and Reply-To addresses to inboxes someone actually checks.
Add the tracking page to your menu and click through it as a customer would.
Run a test order. Fulfil it with a tracking number, then check that the email arrives and the tracking page finds the order.
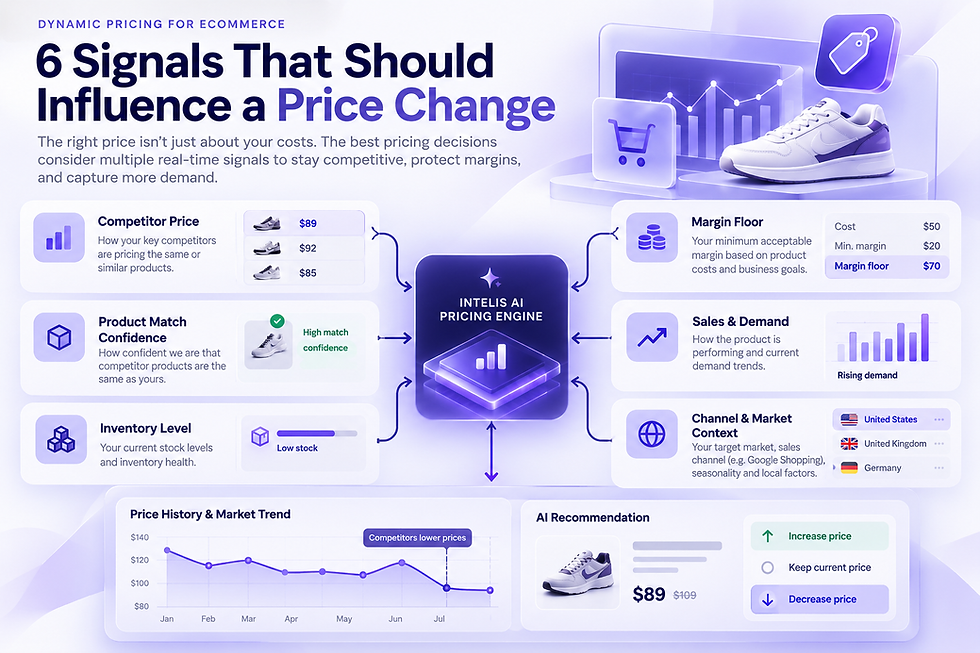
Review your prices. Tracking looks after the time after checkout. Before checkout, shoppers compare prices. A tool like Intelis can monitor competitor prices for you, so you can stay competitive during the sale. Our BFCM prep guide for Shopify stores covers sale pricing in more detail.
Tell customers where to look. Mention your tracking page in your shipping policy or order confirmation, so shoppers know the page exists.
Plan a daily check of the Exceptions tab for sale week, and decide who does it.
Get Ready Before the Rush
Customers rarely mind waiting for a package. What bothers them is not knowing where it is.
A Shopify order tracking page and automatic tracking emails answer that question for you. Customers can check their orders themselves, you can see problem shipments earlier, and your team can spend sale week on fulfilment instead of repeat questions.
If you'd like to try this setup, you can find the app on the Shopify App Store. The free plan covers up to 25 orders a month with email notifications, and paid plans start at $9 a month and add the branded tracking page. Set it up now and test it with a few orders, so tracking is one less thing to worry about when the sale begins.
About the author: PluginHive provides shipping, tracking, booking, and automation solutions for eCommerce platforms including WooCommerce and Shopify. Its tools help merchants simplify fulfillment, automate notifications, and improve customer satisfaction while growing their eCommerce businesses.